In this article:
Plug LED light patterns
|
|
LED display |
Trigger |
What it means |
Pre-setup |
|||
|
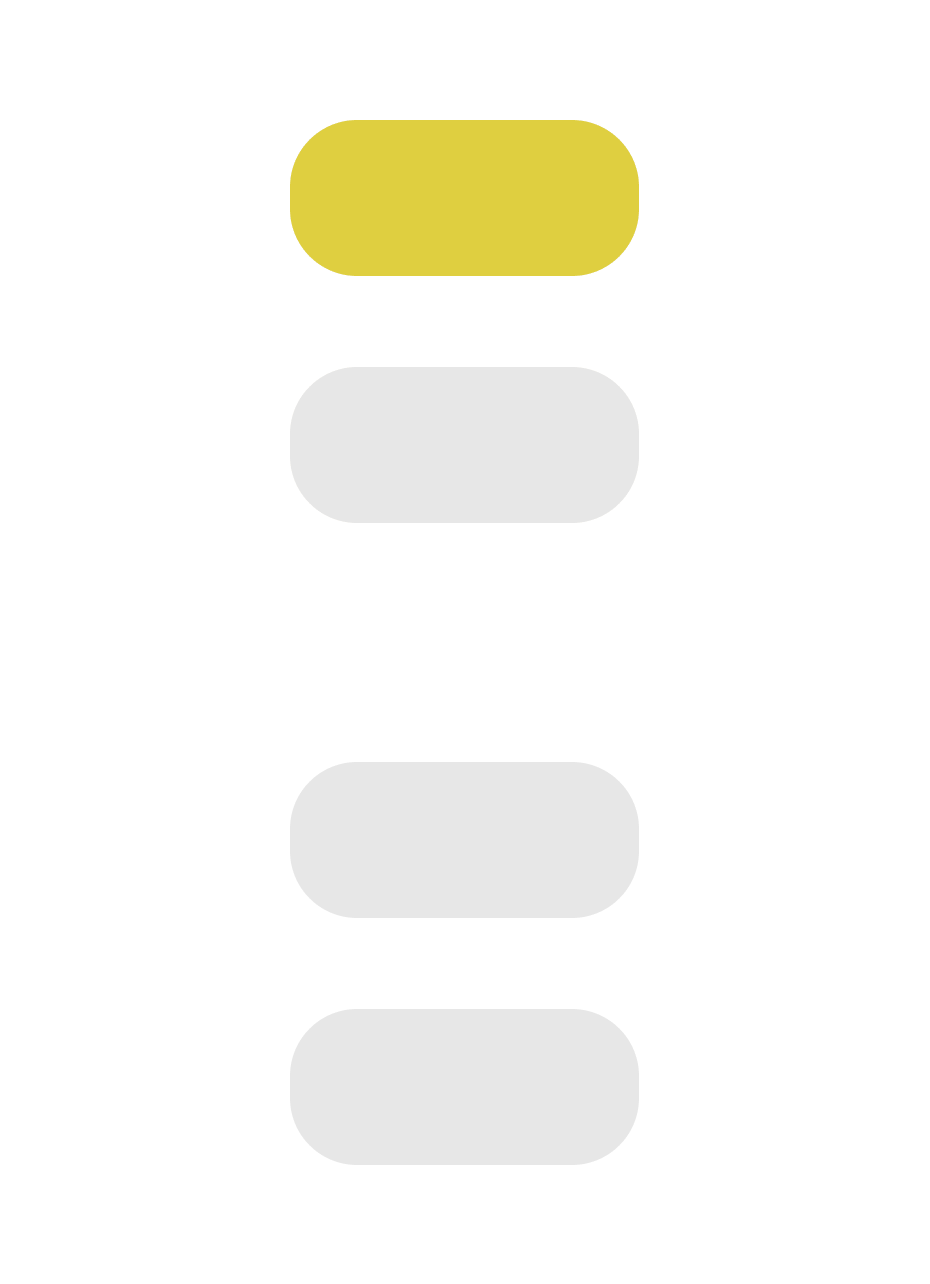
Waiting |
Slow flashing top yellow light |
Indicates the plug is ready for setup after being plugged into an AC power socket | |
|
Connecting |
Quick flashing top yellow light |
Indicates the App and plug have established a Bluetooth connection.
Occurs during plug setup once the user taps ‘connect’ in the App. |
|
|
WiFi connect
|
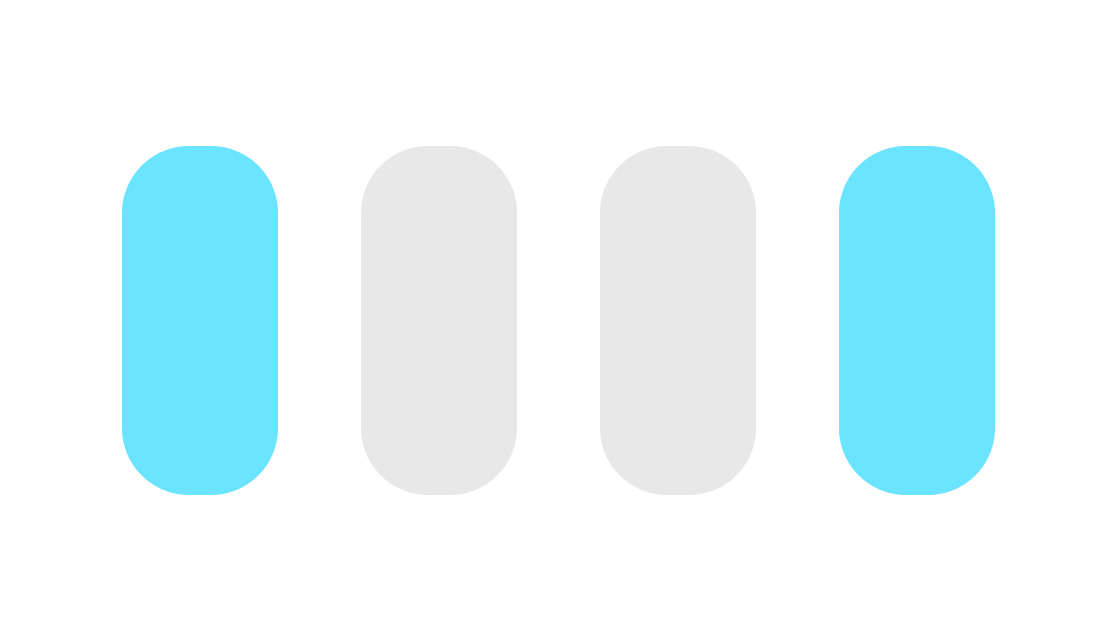
Quick flashing top blue light |
The plug is trying to join the Wifi network with the given credentials |
|
|
Quick flashing top cyan light |
Wifi network joined, trying to obtain IP address via DHCP |
||
|
Quick flashing top green light |
IP address obtained, trying to communicate to Powersensor server |
||
|
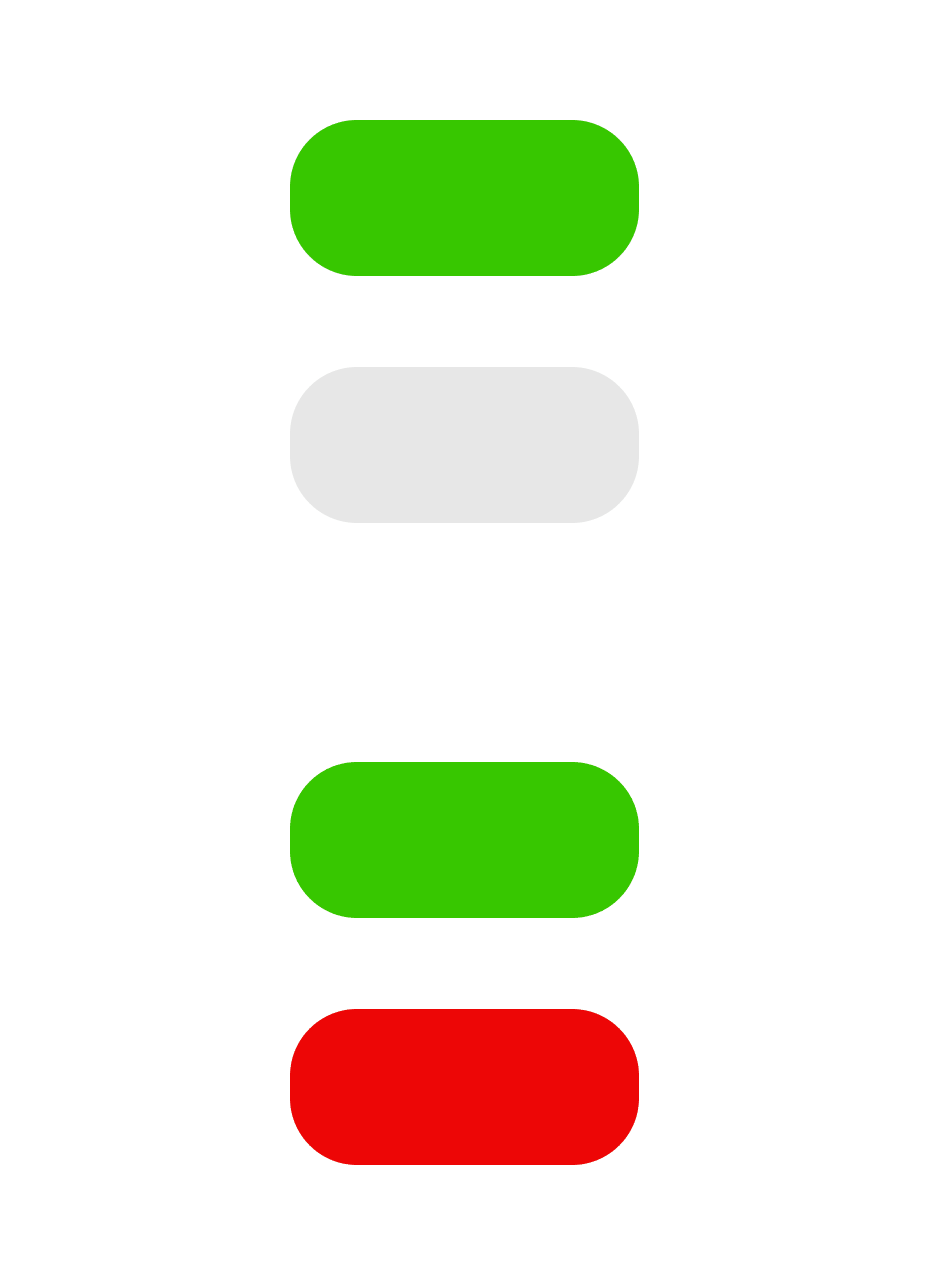
Connected |
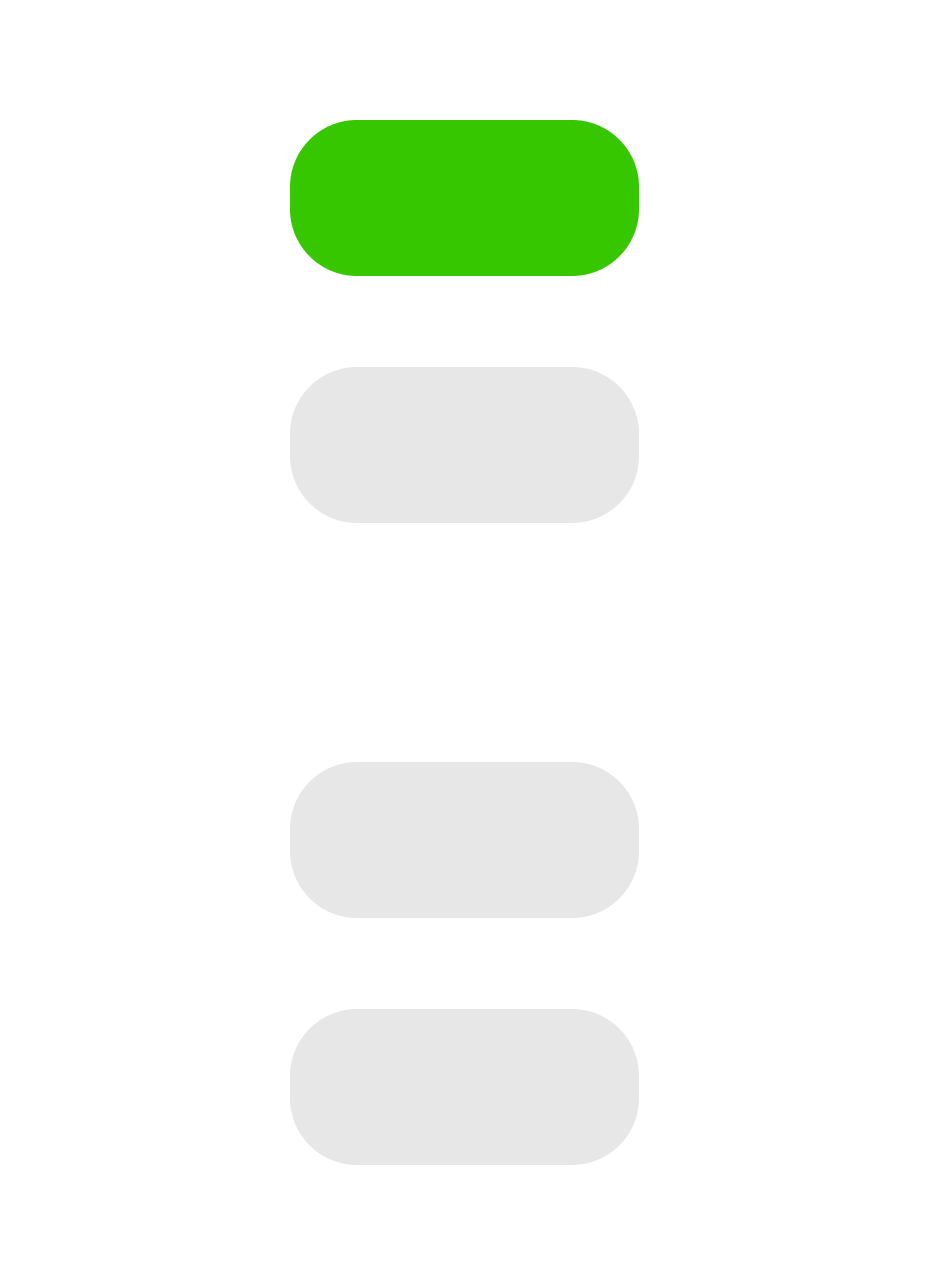
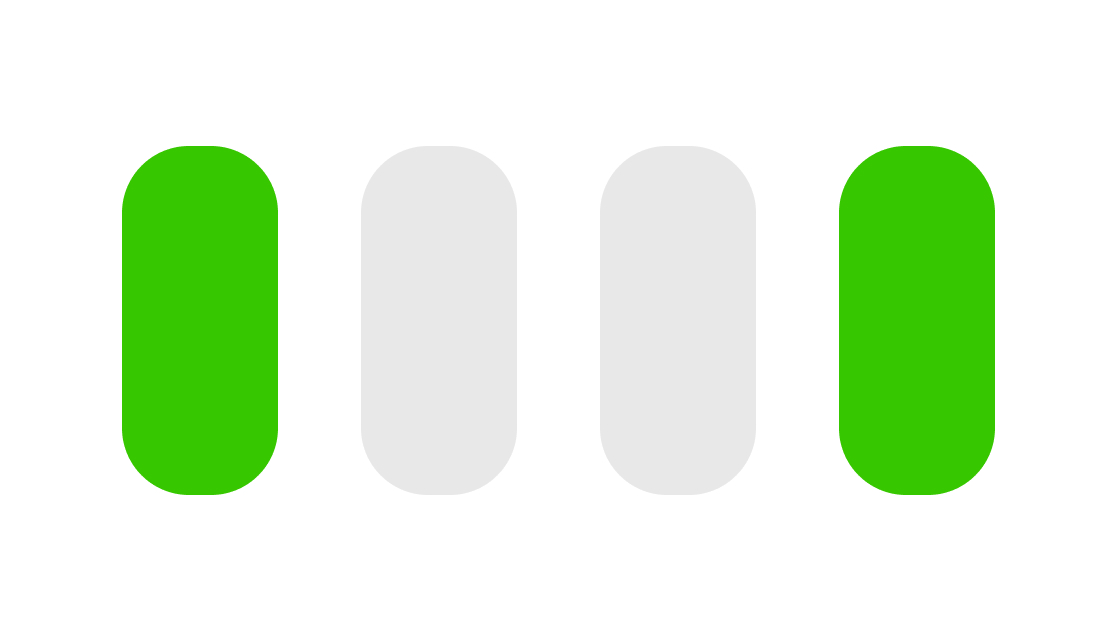
Solid top green light |
Success, the plug has connected to the Powersensor server |
|
|
WiFi fail |
Solid top red light for 5 seconds |
Failed to connect to wifi on installation. Previous colour indicates how far the plug progressed in connecting to WiFi e.g., blue to red means it failed to connect with the given credentials, cyan to red failed to obtain IP and so on |
|
|
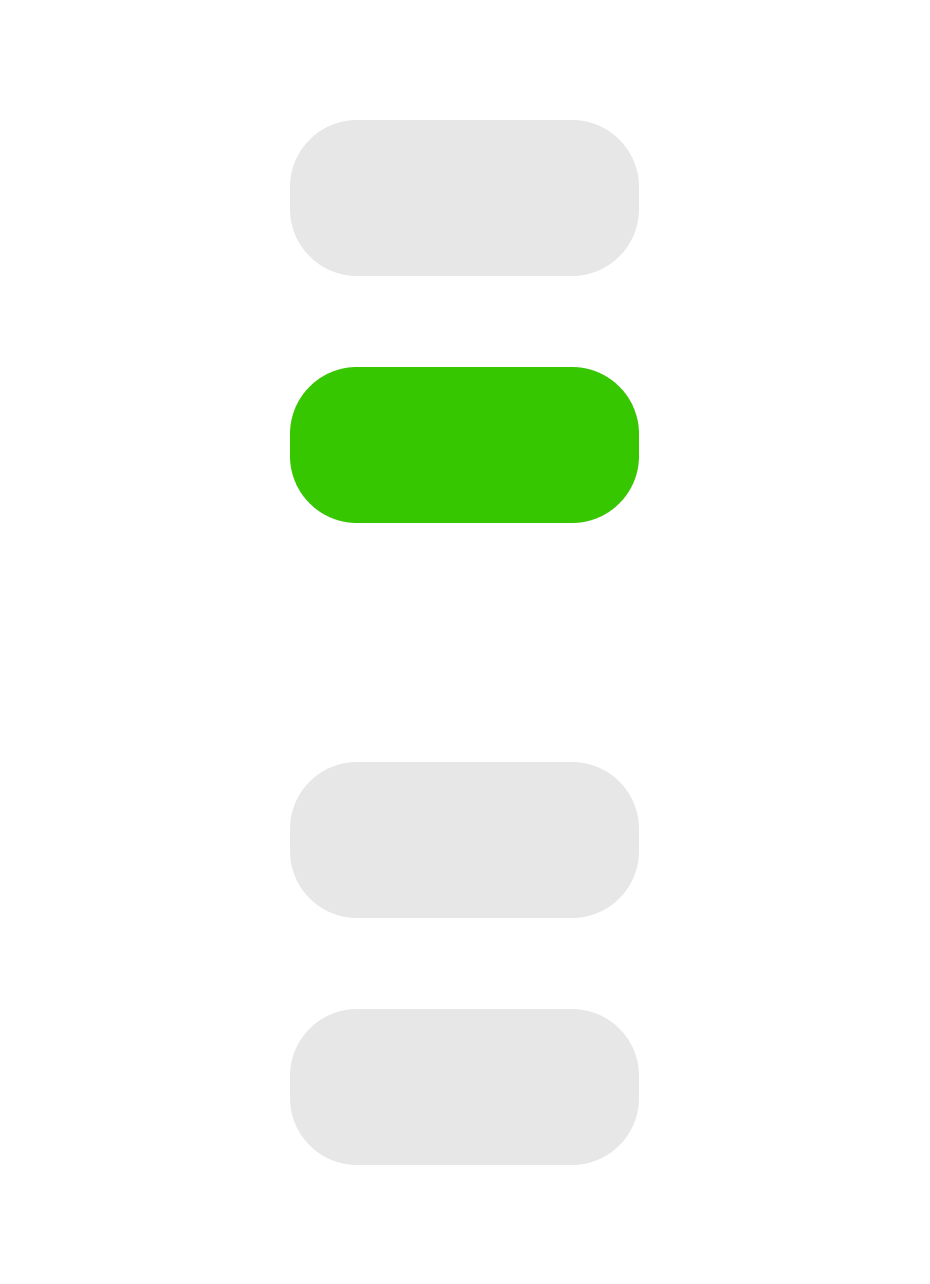
Active app subscription during install |
Bottom blue light illuminated |
There is an active Bluetooth connection to the plug during install. |
|
Plug reset |
|||
|
Option 1 |
Top blue light blinking |
Hold down button for 4 seconds |
Release at this point, and plug will simply restart |
|
Option 2 |
Top light alternating blue and yellow |
Continue to hold after blue blinking stage |
Release at this point, and WiFi credentials will be erased, and plug restarts |
|
Option 3 |
Top light alternating blue and red |
Continue to hold after blue-yellow blink |
Release at this point, and plug will factory-reset, erasing all state and then reset |
|
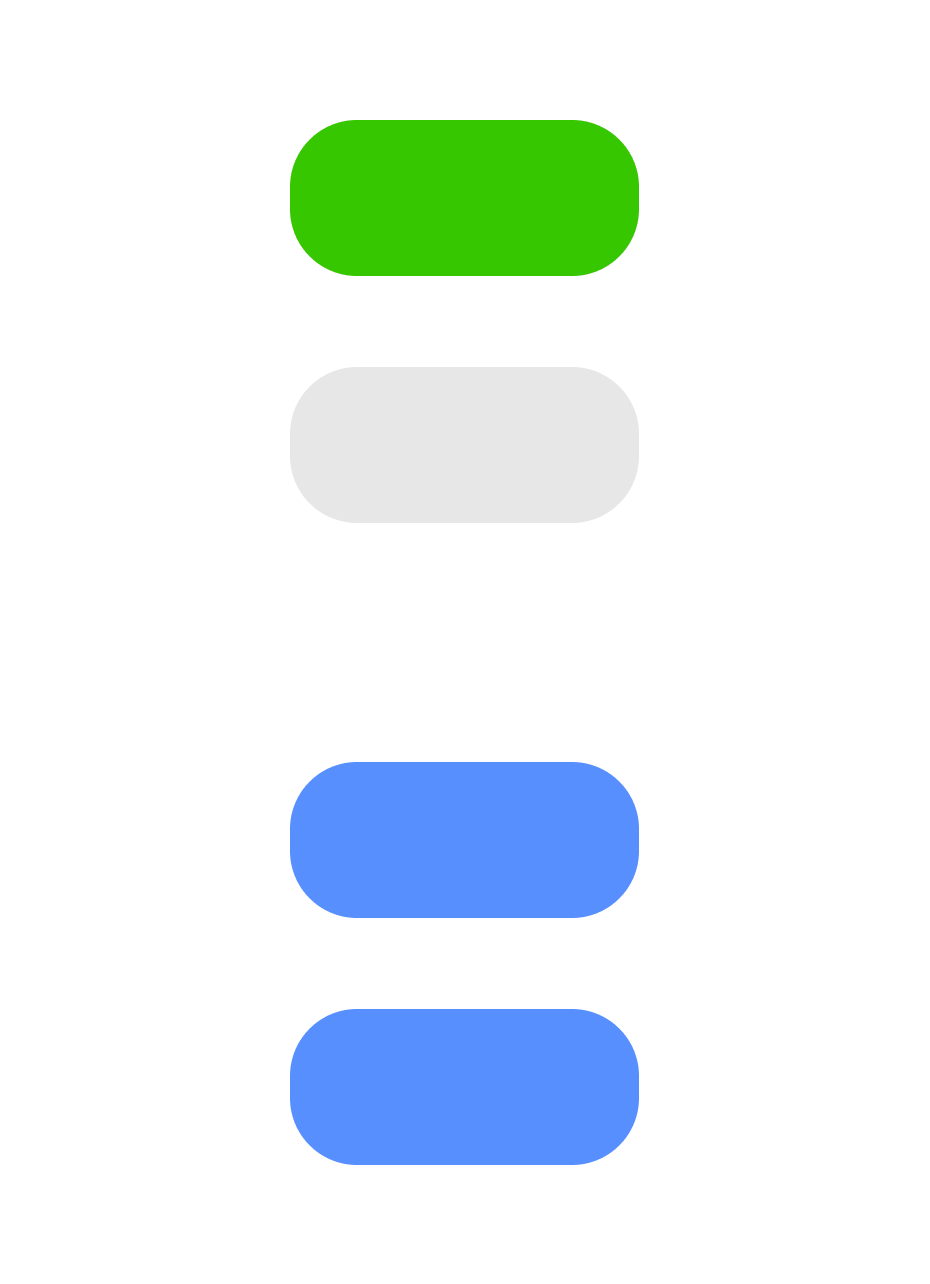
Option 4 |
Lights alternating blue |
Resetting (starting up) |
|
Normal operations |
|||
|
Connected |
Top solid green light |
Wifi connection active |
|
|
Not connected |
Top blinking green light |
Wifi connection lost, trying to reconnect. |
|
|
Connected but needs attention |
Top solid green light with red blinking bottom light |
Non-transient backend issues |
This happens when the Powersensor server for any reason refuses to accept data from the plug. Usually it means the plug has been unbound (i.e. the plug was factory reset using the app). |
|
Credentials unlocked (Plug is ready to handout WiFi credentials to all sensors) |
Bottom pink blinking light |
Occurs during the sensor setup and after the user taps ‘activate’ in the app. Only sensors with outer lights illuminated state ask for WiFi credentials.
|
Plug is ready to provide WiFi credentials to physically close sensors, previously paired with the plug. |
|
Active App subscription
|
Bottom solid green light |
The App is listening for live data updates from the plug during normal operation |
|
|
Bottom blinking green light |
Active WiFi connection between App and Plug.
Occurs during sensor installation or plug LED configuration via the App |
||
|
Identify |
Both lights blink blue*, alternating with the current state of the plug LEDs |
Allows the user to identify which plug the user has selected on the devices page of the App. Useful in multi-plug setups to differentiate plugs. *Each plug has a unique identifying LED colour. |
|
Sensor LED light patterns
|
|
LED display |
Trigger |
What it means |
Powering up the sensor |
|||
|
Initialising |
Green lights turn on in sequence |
pressing the sensor button from the off position |
Indicates stages of starting up the sensor |
Setup |
|||
|
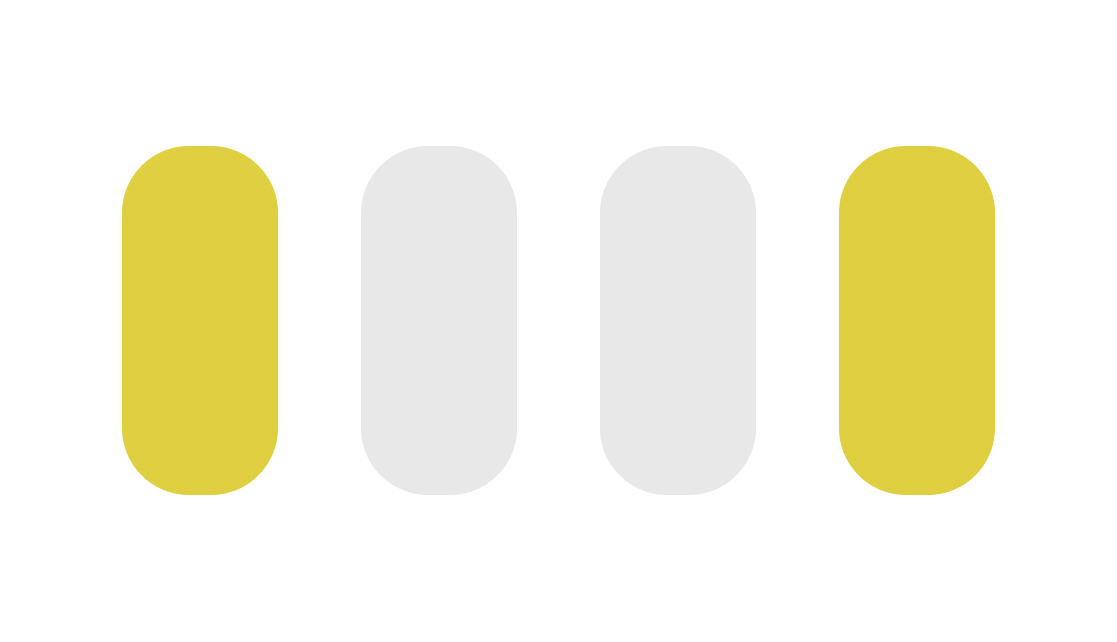
Waiting |
Solid yellow outer lights |
The sensor does not have WiFi credentials and is ready to connect to plug |
|
| Pairing |
Blinking yellow outer lights |
Initiating pairing in the app |
The sensor is connecting to the plug during setup so it can receive WiFi credentials. |
Connecting to WiFi |
|||
| Trying to join WiFi |
Blue outer lights |
The sensor has received the WiFi credentials from the plug and is trying to join network |
|
| Trying to obtain IP |
Cyan outer lights |
The sensor has joined the WiFi network and is trying to obtain an IP address via DHCP |
|
| Trying backend |
Light green outer lights |
IP obtained, trying to communicate to Powersensor server |
|
| Connected |
Green outer lights |
Successfully connected to the Powersensor server | |
| Failure |
Red outer lights |
A failure to connect to WiFi, obtain IP, or talk to server |
When this comes up, whatever the previous status was indicates what went wrong e.g., 2-outer-blue to 2-red means it failed to connect with the given credentials, 2-outer-cyan to 2-red failed to obtain IP and so on |
| Powering Down (after Failure) |
Solid red lights for 3 seconds |
The failure lights after failing to connect to WiFi, obtain IP, or talk to server | Connection failed. Followed by power-off to conserve battery. |
Install assist |
|||
| No AC signal |
Single red light |
No AC signal detected, waiting to detect signal |
|
| AC signal |
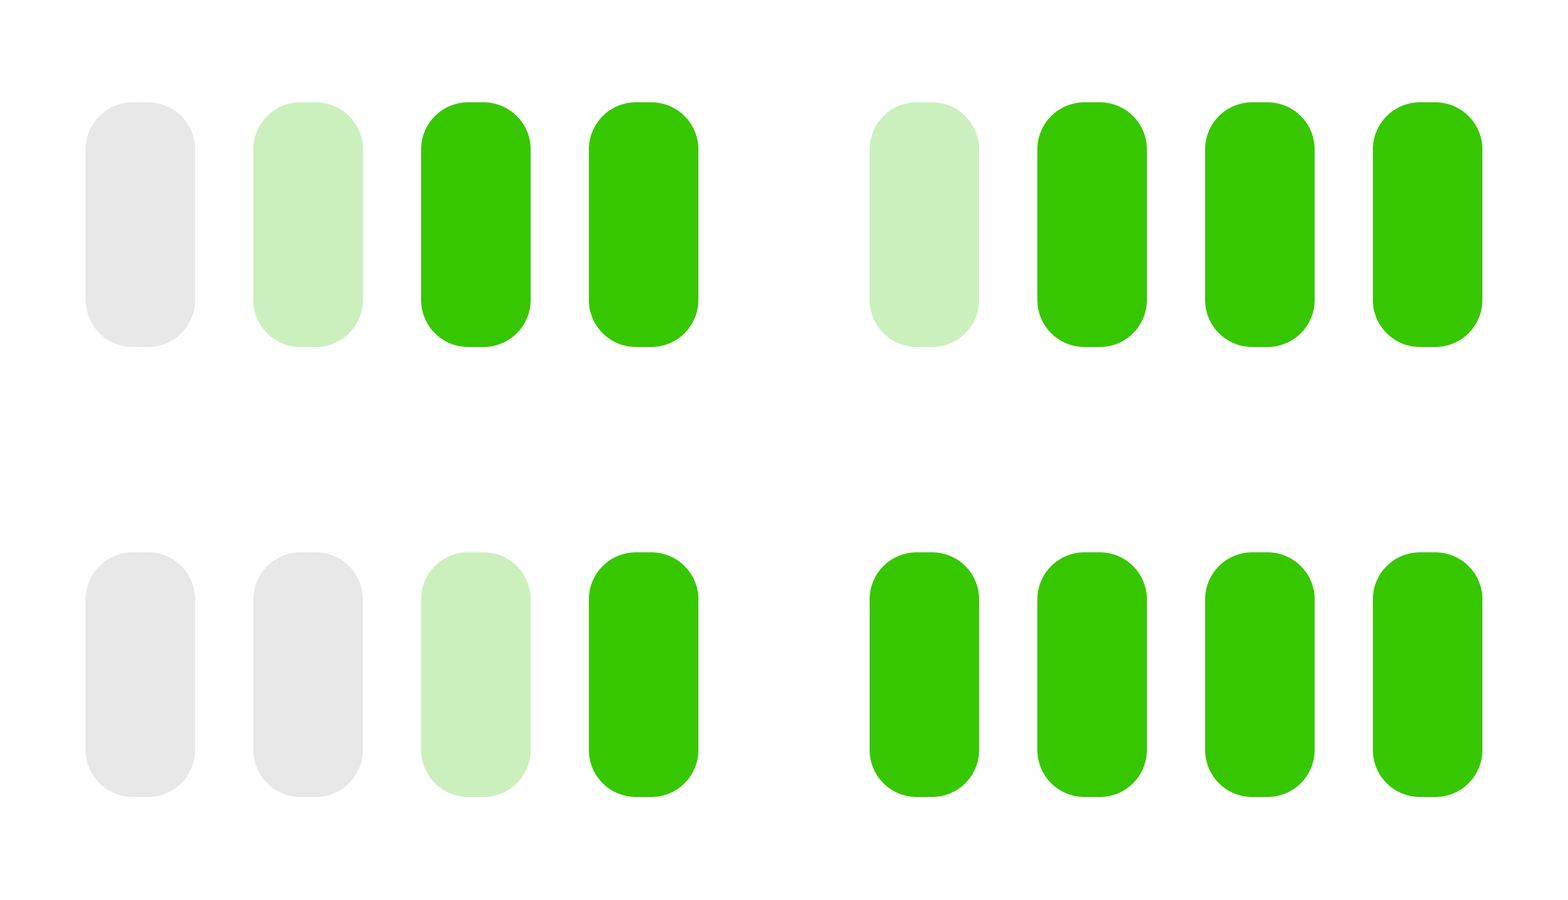
Varying numbers of green lights |
AC signal detected, LED lights show variation of AC signal strength, the more LED lights the stronger the signal detected |
|
Reset sensor |
|||
| Reset |
White lights turn on in sequence |
Holding down the power button |
Sensor is resetting |
| Reset confirm |
Solid red lights |
Releasing the button after LEDs turn red |
Erases the Wifi credentials and the sensor starts to power down. |
| Powering down |
Red lights turn off in sequence with one blue light at the end |
LED lights turn off in sequence as the sensor is powering down. |
|
Normal operation |
|||
| Active 'woosh' |
Single green light travelling across every 6 seconds |
Indicate normal operation. Becomes dimmer some time after installation (to save battery) Bluetooth connection with the plug is good |
|
|
Single green and then yellow light travelling across every 6 seconds |
As above, but indicates Bluetooth is not currently connected to plug |
||
|
Single blue light travelling across every 6 seconds |
Sensors are updating their software |
||
|
Single purple light travelling across every 6 seconds |
Allows the user to identify which sensor has been selected on the devices page of the App. Note, the user must be physically near the sensor when identifying the sensor. Useful in differentiating between the meter board and solar sensors. |
||
| Charging |
Yellow lights, slow blink of one LED |
Sensor plugged into power, charging |
Yellow LEDs indicate charge level on a scale. “Top” LED will vary in brightness |
| Fully Charged |
All LEDs blink green |
Sensor plugged into power, charge complete | Your sensor is fully charged and ready to be installed |
| Charge and operate |
The same as charging, but the 'whoosh' will show every 6 seconds, and help to differentiate between charge-and-operate and charge-only modes |
Sensor plugged into power while operating, or button pressed while in charge-only mode |
If the sensor is disconnected at any time while in charge-and-operate mode, the “charge” part of the LED lights will be dropped within 5 seconds. |
Factory mode |
|||
| Factory operating mode |
One solid cyan light |
Button held during power-up |
The sensor is powered up by a momentary press of the power button. Do not hold the button during power-up. If the button is held down during power-up the sensor enters factory mode. This mode is for factory use only and does not support any user functionality. To exit to exit factory mode push button to power-off, and power back on with a short button press |














Comments
0 comments
Please sign in to leave a comment.